Guide
Bass guitar setup: neck relief, action, intonation and pickup height
Four adjustments, always in the same order: neck relief, string height, intonation and pickup height, with the checks for each and the signs that a job belongs to a technician.
Published
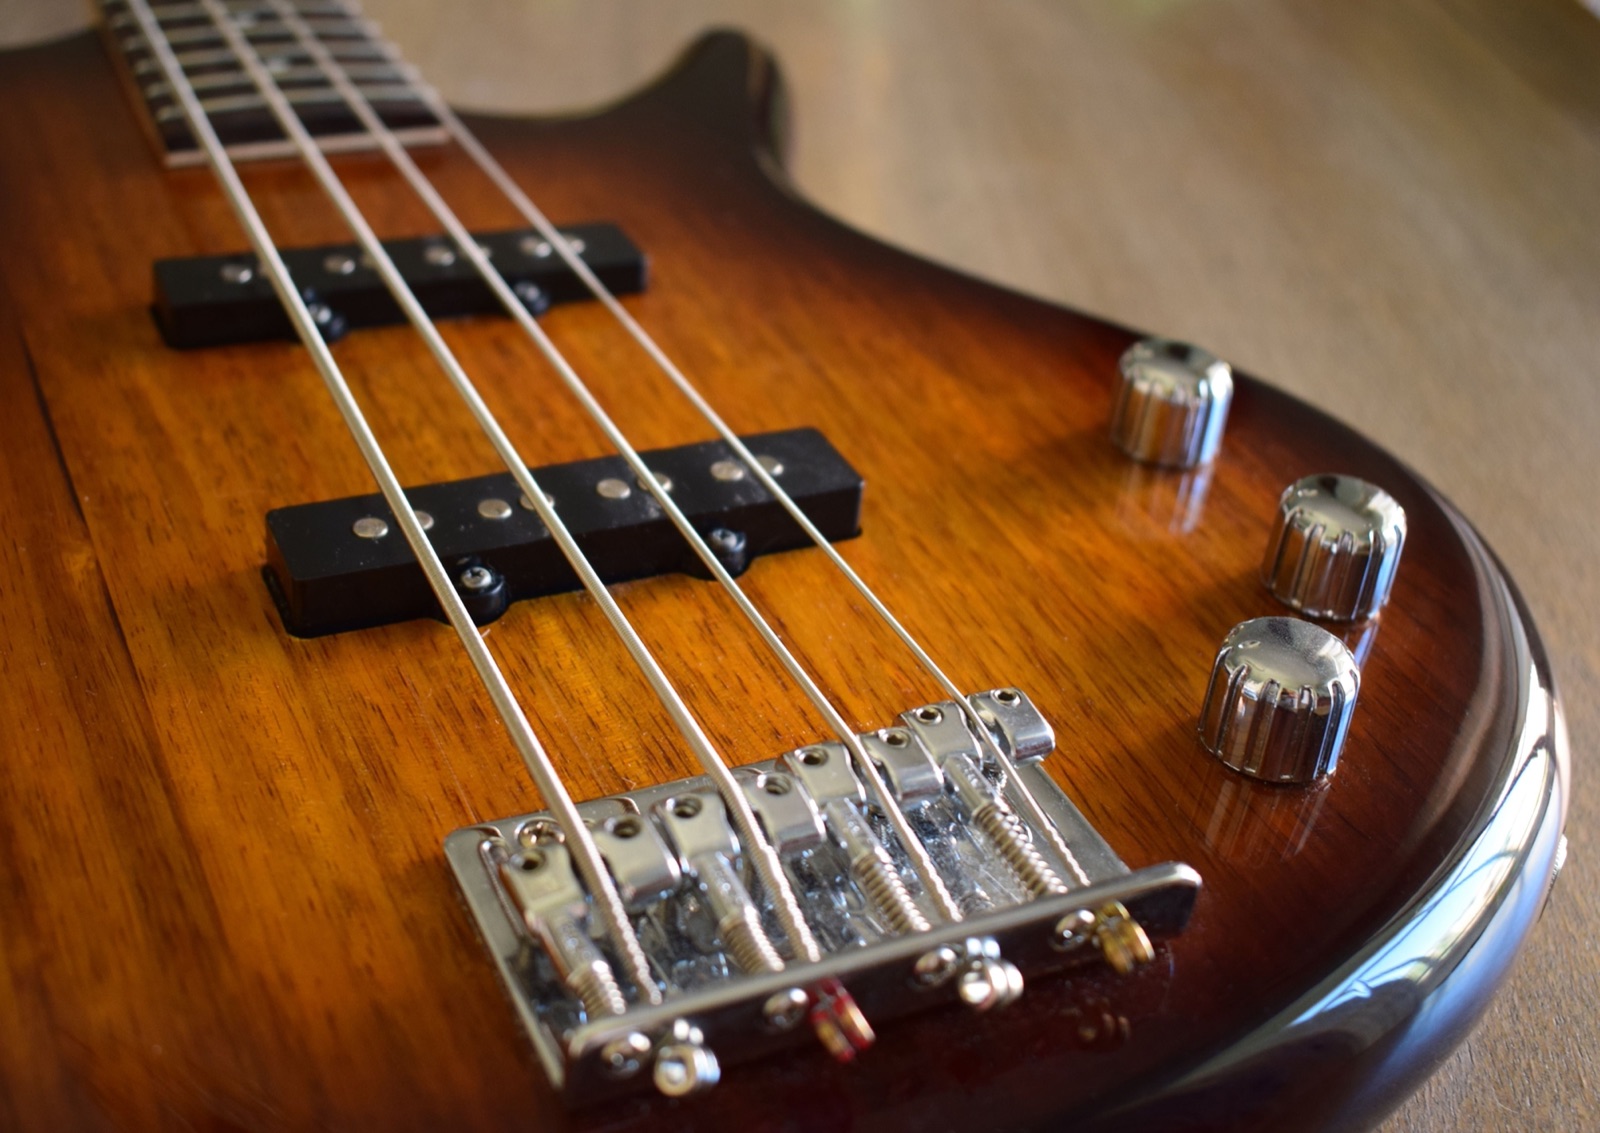
A bass guitar setup is the set of small adjustments that make a bass comfortable to play and keep it in tune up the neck. There are four, and the order matters, because each one changes the next: neck relief (with the truss rod), string height or action (at the bridge saddles), intonation (saddle position) and pickup height. Yamaha's setup guide works through the first three in exactly that order.
By the end of this guide you will be able to check each one, make small adjustments and recognize when a problem is beyond a setup. Bass Guitar For Dummies recommends having a professional set up your bass the first time and noting how it feels and where the saddles sit, so you have a known good starting point to return to.
What you'll need
Essentials
-
Tuner
: every check starts with the bass in tune, and intonation is set against it. -
Allen keys and screwdrivers
: in the sizes your truss rod, saddle height screws and intonation screws take; metric and inch sizes differ. -
Ruler marked in 64ths of an inch or half millimeters
: measures string height so you can record it before and after. -
Capo
: holds the string down at the first fret while you check relief.
Optional
-
Feeler gauges
: measure the relief gap more precisely than by eye. -
Soft neck rest or folded towel
: supports the neck while the bass lies on its back.
Before you start a bass guitar setup
- Fit the strings you will use. A setup is done for one string gauge and type; Elixir notes that changing gauges may require adjusting action and intonation. If new strings are due, fit them first (see how to restring a bass).
- Tune to pitch. Every measurement assumes normal string tension.
- Write down the starting point. Measure the string height of each string before you turn anything, so you can always go back.
- Check your manual. Many makers publish their own factory figures for relief, string height and pickup height. Where they exist, use them in place of any general figure.
- Use the right tool. Yamaha warns that the wrong size of key or driver strips screws; Dummies warns against forcing a truss rod with a tool that does not fit.
Step 1: Neck relief
Relief is the slight forward bow of the neck that leaves room for the strings to vibrate. Too little and the strings buzz on the low frets; too much and the action is high in the middle of the neck.
How to check bass guitar neck relief
Yamaha's method:
- Tune the bass.
- Fret the lowest string at the first fret (a capo helps) and, at the same time, where the neck joins the body.
- Look at the gap between the top of the seventh fret and the bottom of the string.
Yamaha says that if there is roughly .015 inch (about 1/64 inch) of space or less, the relief is right; if the string touches the seventh fret, the neck needs more relief. Feeler gauges make the measurement more precise than a ruler.
Adjusting relief with the truss rod
Yamaha's guide says the truss rod adjuster is usually just behind the nut or under the pickguard; Bass Guitar For Dummies adds that on some basses the neck has to come off to reach it. Yamaha's guide says to detune the strings, turn the rod a quarter turn at a time (clockwise to tighten and straighten the neck, counterclockwise to loosen and add bow), retune and check again. Bass Guitar For Dummies is more cautious still: only a quarter to a half turn per day, letting the wood settle before the next change.
If the rod is stiff, stop and never force it. Yamaha says that if you feel heavy resistance, turn it back a quarter turn and take the bass to a qualified technician, because an overtightened rod can crack the neck or snap the rod. Our truss rod adjustment guide covers this step in full.
Step 2: String action and height
Action is the height of the strings above the frets. Lower action is easier to play; too low and the strings buzz.

How to adjust bass string height
On most bass bridges each saddle has one or two small height screws on top, turned with an Allen key. Based on Yamaha's guide:
- Raise or lower each saddle a little at a time.
- Keep the strings in an arc that follows the curve of the fingerboard, so no single string sits much higher or lower than its neighbors.
- Check by eye or measure each string with the ruler, at the same fret every time, and write the figure down.
- After each change, play every fret on that string and listen for buzz. Keep going until the buzz is gone and the feel is even.
If you have two height screws per saddle, turn both by the same amount so the saddle stays level.
What is a good bass action height
There is no single number. Makers publish their own factory figures, measured at a particular fret, and they vary with neck radius and model; check the manual for your bass. In practice, the right action is the lowest that does not buzz when you play with your normal attack. A player who digs in hard needs more height than one who plays lightly.
Step 3: Bass intonation
Intonation is how well the bass stays in tune as you play higher up the neck. It is set by moving each saddle forward or back, which changes the length of the string.
How to set intonation
From Bass Guitar For Dummies and Yamaha:
- Tune the open string, then play the harmonic at the 12th fret and check it on the tuner.
- Fret the same string at the 12th fret and compare.
- Fretted note sharp: the string is too short. Move the saddle away from the neck by turning its intonation screw at the back of the bridge.
- Fretted note flat: the string is too long. Move the saddle toward the neck.
- Retune and compare again. Repeat until the harmonic and fretted note match, then do the next string.
Yamaha suggests half-turn adjustments and slackening the string slightly so the saddle moves freely. Because the strings and adjustments interact, retune the whole bass at the end and check every string once more. Expect several passes.
Step 4: Pickup height
Pickup height changes output and tone. Seymour Duncan's guidance is written for guitar pickups, but the same trade-off generally holds on a bass: too close and the tone can become muddy and lose definition; too far and the output can sound weak and thin.

How to measure and adjust
- Hold the string down at the last fret.
- Measure the gap from the top of the pickup to the bottom of the string, usually on the lowest and the highest string. Seymour Duncan gives its pickup heights with the string pressed at the last fret.
- Raise or lower the pickup with the screws at each end. Start from your bass maker's published figure if it has one.
- Play and listen, then balance the pickups by ear; Seymour Duncan suggests matching one pickup's output to the other, so switching or blending gives a similar volume.
Common mistakes
- Changing the order. Setting action before relief means doing it twice.
- Using the truss rod to set action. The rod sets relief; string height is set at the saddles.
- Big turns. Quarter turns on the truss rod and small turns on saddle screws; check after each one.
- Not retuning. Every adjustment changes the tension. Retune before each check.
- Not writing anything down. Without the starting figures, a bad change is hard to undo.
When to see a technician
Take the bass to a qualified technician or luthier if:
- the truss rod will not turn, turns with heavy resistance, or reaches the end of its travel;
- you cannot get rid of buzzing without raising the action a lot, which can point to uneven frets;
- the strings sit high at the first fret even with good relief, which points to the nut;
- the neck is twisted, cracked or moves at the joint;
- you are not comfortable doing the work yourself. Yamaha says a music retailer can refer you to a technician.
What to check next
Bass Guitar For Dummies notes that adjustments are needed about four times a year, as the seasons change and the wood moves. A quick check of relief and string height every few months, and after every change of bass strings, keeps a bass playing the way you set it.
Questions
What is a good action height for a bass?
It depends on your playing and your bass, and makers publish their own factory figures. Set it as low as it will go without buzzing when you play the way you normally do, and keep the strings following the curve of the fingerboard.
How much neck relief should a bass have?
A small amount. Yamaha's guide checks the gap at the seventh fret with the string held at the first fret and where the neck meets the body, and calls about .015 inch or less correct. Use your maker's figure if it publishes one.
How often does a bass need a setup?
Check it whenever you change string gauge or type, and when the seasons change. Bass Guitar For Dummies suggests adjustments about four times a year.
How do I check bass intonation?
Tune the string, then compare the harmonic at the 12th fret with the note fretted at the 12th fret. If the fretted note is sharp, move the saddle away from the neck; if it is flat, move it toward the neck.
Should I get a professional bass setup?
For the first one, it is a good idea. Bass Guitar For Dummies recommends having a professional set up your bass the first time and noting the result, so you can return to it later.
Sources
- Yamaha — How to set up your bass
- Bass Guitar For Dummies — How and why to adjust the saddles of your bass guitar
- Bass Guitar For Dummies — How to adjust the truss rod on a bass guitar
- Seymour Duncan — What is the proper height for a pickup?
- Elixir Strings — How to choose the best bass guitar strings
Read next
Guide
Bass truss rod adjustment: direction, small turns and when to stop
Check the neck relief, find the adjustment nut, turn it a quarter at a time in the right direction, let the neck settle and recheck, and stop at the first sign of trouble.
Guide
How to restring a bass: change your bass strings step by step
Remove the old set, thread each new string through the bridge, cut it to length, wind it neatly down the post and tune up, with the tools for each step.
Buying guide
Bass strings: windings, materials, gauges and how to choose a set
What the winding, the metal, the gauge and the length of a string do to the sound and feel of a bass, and how to read a string pack before you buy.